
The Process of Felting

One of my biggest joys is to experience how I can take this big, fluffy amount of wool and turn it into a sturdy, indivisible piece of fabric.
Or form the wool into a ball within my palms, first working it carefully and gently, then forcefully and in the end have a firm ball in my hands – simply with hot water, soap and pressure.
Why Does Wool Felt?
The secret can be found under a microscope.
The wool fibers get moved during the felting process, twist into each other and become entangled and do not let each other loose. Responsible for this, are the epidermis. Scales, which cover each wool fiber like roof shingles. These scales are aligned with the tip of the fiber. For this reason, the fiber slides smoothly in the direction of the hair root.
Slipping is prevented by the scales.
If you want to know more about needle felting then I suggest you take a look at our e-book “Understand Needle Felting“.

Wet and Hot
Moisture is indispensable for the felting process. If the wool is wet, the epidermis supplements are spread apart from the fiber, like little barbs. A little moisture is enough for this reaction.
Too much water is not only bad for your workplace, but it can also prevent the felting process because it is difficult or even impossible for the fibers to connect with each other – they then tend to just swim side by side.
The felting process is accelerated by heat. The hat industry even uses hot steam for this reason. For the felters at home: it is best to work with hot water temperatures that are just bearable (about 140°F / 60°C – less if you have children working with you).
I used to just cup my hands full of hot water and try to sprinkle it onto the wool until I found these awesome bulbs. You can control the amount of water you are adding to your wool perfectly and you don’t burn your hands.
When an alkaline medium is added to the moisture and heat, the epidermal scales spread even better. For this reason, soap is added to the hot water – about one tablespoon per liter of water.
A Word About Soap
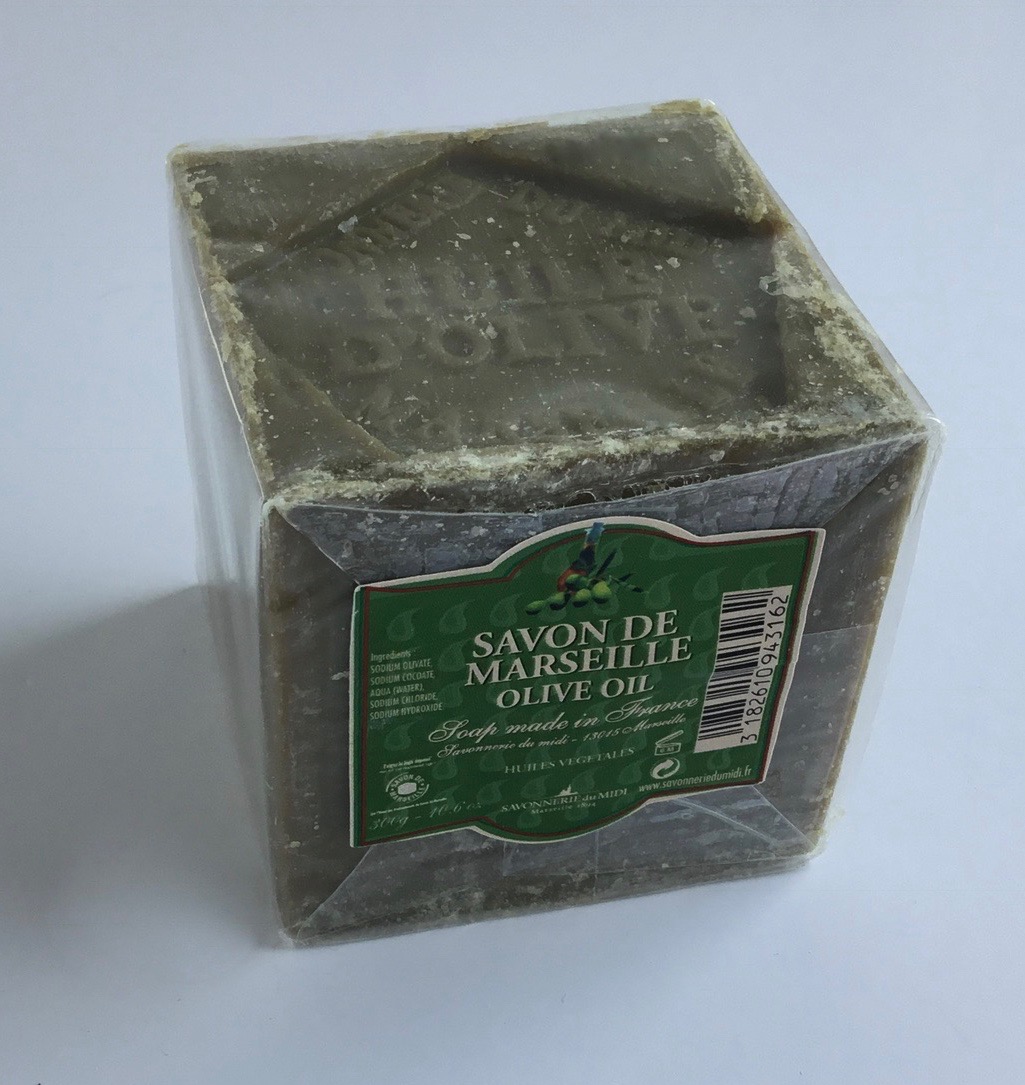
If you are planning to wet felt anytime in the future, you won’t regret investing on some high quality olive oil soap.
Several felters I know prefer dissolving soap flakes (available in our shop) in hot water, making a soapy solution instead of working with a bar of soap.
If you are like me, and prefer the bar of soap to rub your hands on when needed, to better control the amount of soap used during the wet felting process, then you might want to look at our 300g bar of soap, made by the same company.
Our vegetable oil soaps by Savon du Midi are manufactured in the Provence in France.
This is my favorite soap for felting because it doesn’t dry out your hands, like dishwasher soap does, even after hours of wet felting.
When felting per hand, soap also serves as an indispensable lubricant. Especially when form felting (3D Felting, like a ball or figurine) you can not omit soap. If, however, the wool is rolled into a mat for surface felts, no soap is necessary.
The cleaner and the more chemically processed the wool is, the more lubricating soap is necessary, because the wool has been stripped of its natural fatty acids and welding salts which would normally act as soap.
However, just like too much water, too much soap can also prevent the fibers from getting caught on to each other. Generally, wool will felt without the addition of soap, but if added, will accelerate the process.
Criss-Cross
In order for the wool fibers to move in all directions and to interlock best, it is important to create a controlled “chaos”.
Because of the way the scales are positioned on the shaft of the fiber, the fiber itself can only move in one direction.
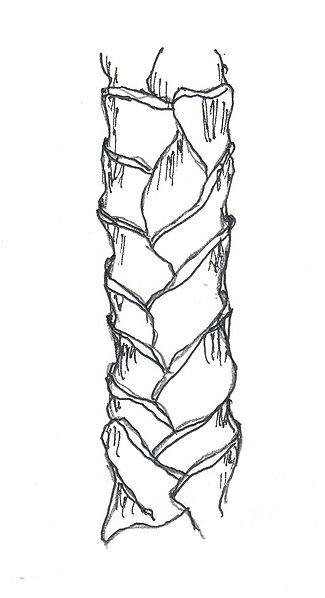
Thus, if you are felting with top (= combed and straightened wool that has very little natural crimp left) wool, you have to kinda assist the interlocking by laying the wool out like in this picture:

For demonstration purposes, I’ve used several different colors, this is not typical, but might actually look pretty interesting! 🙂
You take your top wool and pluck tufts and lay them out over your surface. My first row was the red on the right. The first layer should consist of several tufts laying next to each other like shingles on a roof, overlapping slightly, but all in one direction (in the picture I worked from right to left, starting with red, then orange then purple). The second layer (also spread out like roof shingles) should lie at a right angle to the first layer (e.g. top to bottom, in my example the light blue came first then the green) The third layer is again laid out like the first layer and so on.
If you are felting with batt, then you can skip this step. Carded batts are already criss-crossing layers. So this means that the fiber was already laid out with the roots of each fiber laying in a different direction from the ones surrounding it.
Another name for felt making is “massive entanglement”.
Felting Stage
Even if the previous explanations are important prerequisites for the success of wet felting – the main work is yet to come: felting and fulling.
For this process, both sensitivity and physical effort are necessary.
The first stage of the process is called “felting”. After you have moistened the wool (remember you don’t want the fibers to swim), gently pat the wool to press out any air.
Carefully and cautiously, as if petting a gentle bunny, you want to help the fibers entangle, using only your fingertips in light vibrating, circular movements, creating a cloth. As you gently massage it, the fibers move, but only gently, nothing noticeable by eye. If you are making the fibers move a lot, you need to slow down, and ably less pressure.
The cloth is not hard, nor has it begun to shrink. The fibers have simply been massaged enough to have created a fabric with holds together as one mass.
If you are too impatience and eager during the first phase of wet felting, you will only get wool clogs instead of a ball, pockets or protruding tufts instead of a closed surface.
There are some test to see if you are finished with the felting stage.
You can try to gently push the fiber with your finger. If it moves, it is not ready.
Another, more aggressive test is called the pinch test. After working the fiber for a while (the length depends on the type of fiber used), use your thumb and forefinger to gently pinch and lift a little fiber on the surface of the cloth. If individual fibers come up, the cloth is not through the felting stage. If they hold onto the fabric around them so that the whole fabric picks up as one unit, it is ready.
Fulling Stage
Once a uniform surface has been reached, the actual work begins, characterized by strength, perseverance, and the determination to work the workpiece until the felt is actually finished – and this sometimes takes several hours depending on the size of the object!
The next stage is called “Fulling”. The purpose is to make the object tougher. If used without fulling, the object will likely pill and shed fiber until it falls apart.
Fulling refers to the use of heat, moisture and extreme agitation to make a wool fabric shrink and therefore become stronger and warmer.
This fabric can be made by felting, by knitting, by weaving, by crocheting, by knotless netting, or any textile construction technique that can use wool fiber or yarn to create it.
When fulling is being done, the fibers continue to move (we call this migrate) and entangle on each other. Even though the size of the fiber diameter does not change, the air between the fibers is removed as they tangle around each other, so the fabric “shrinks”.
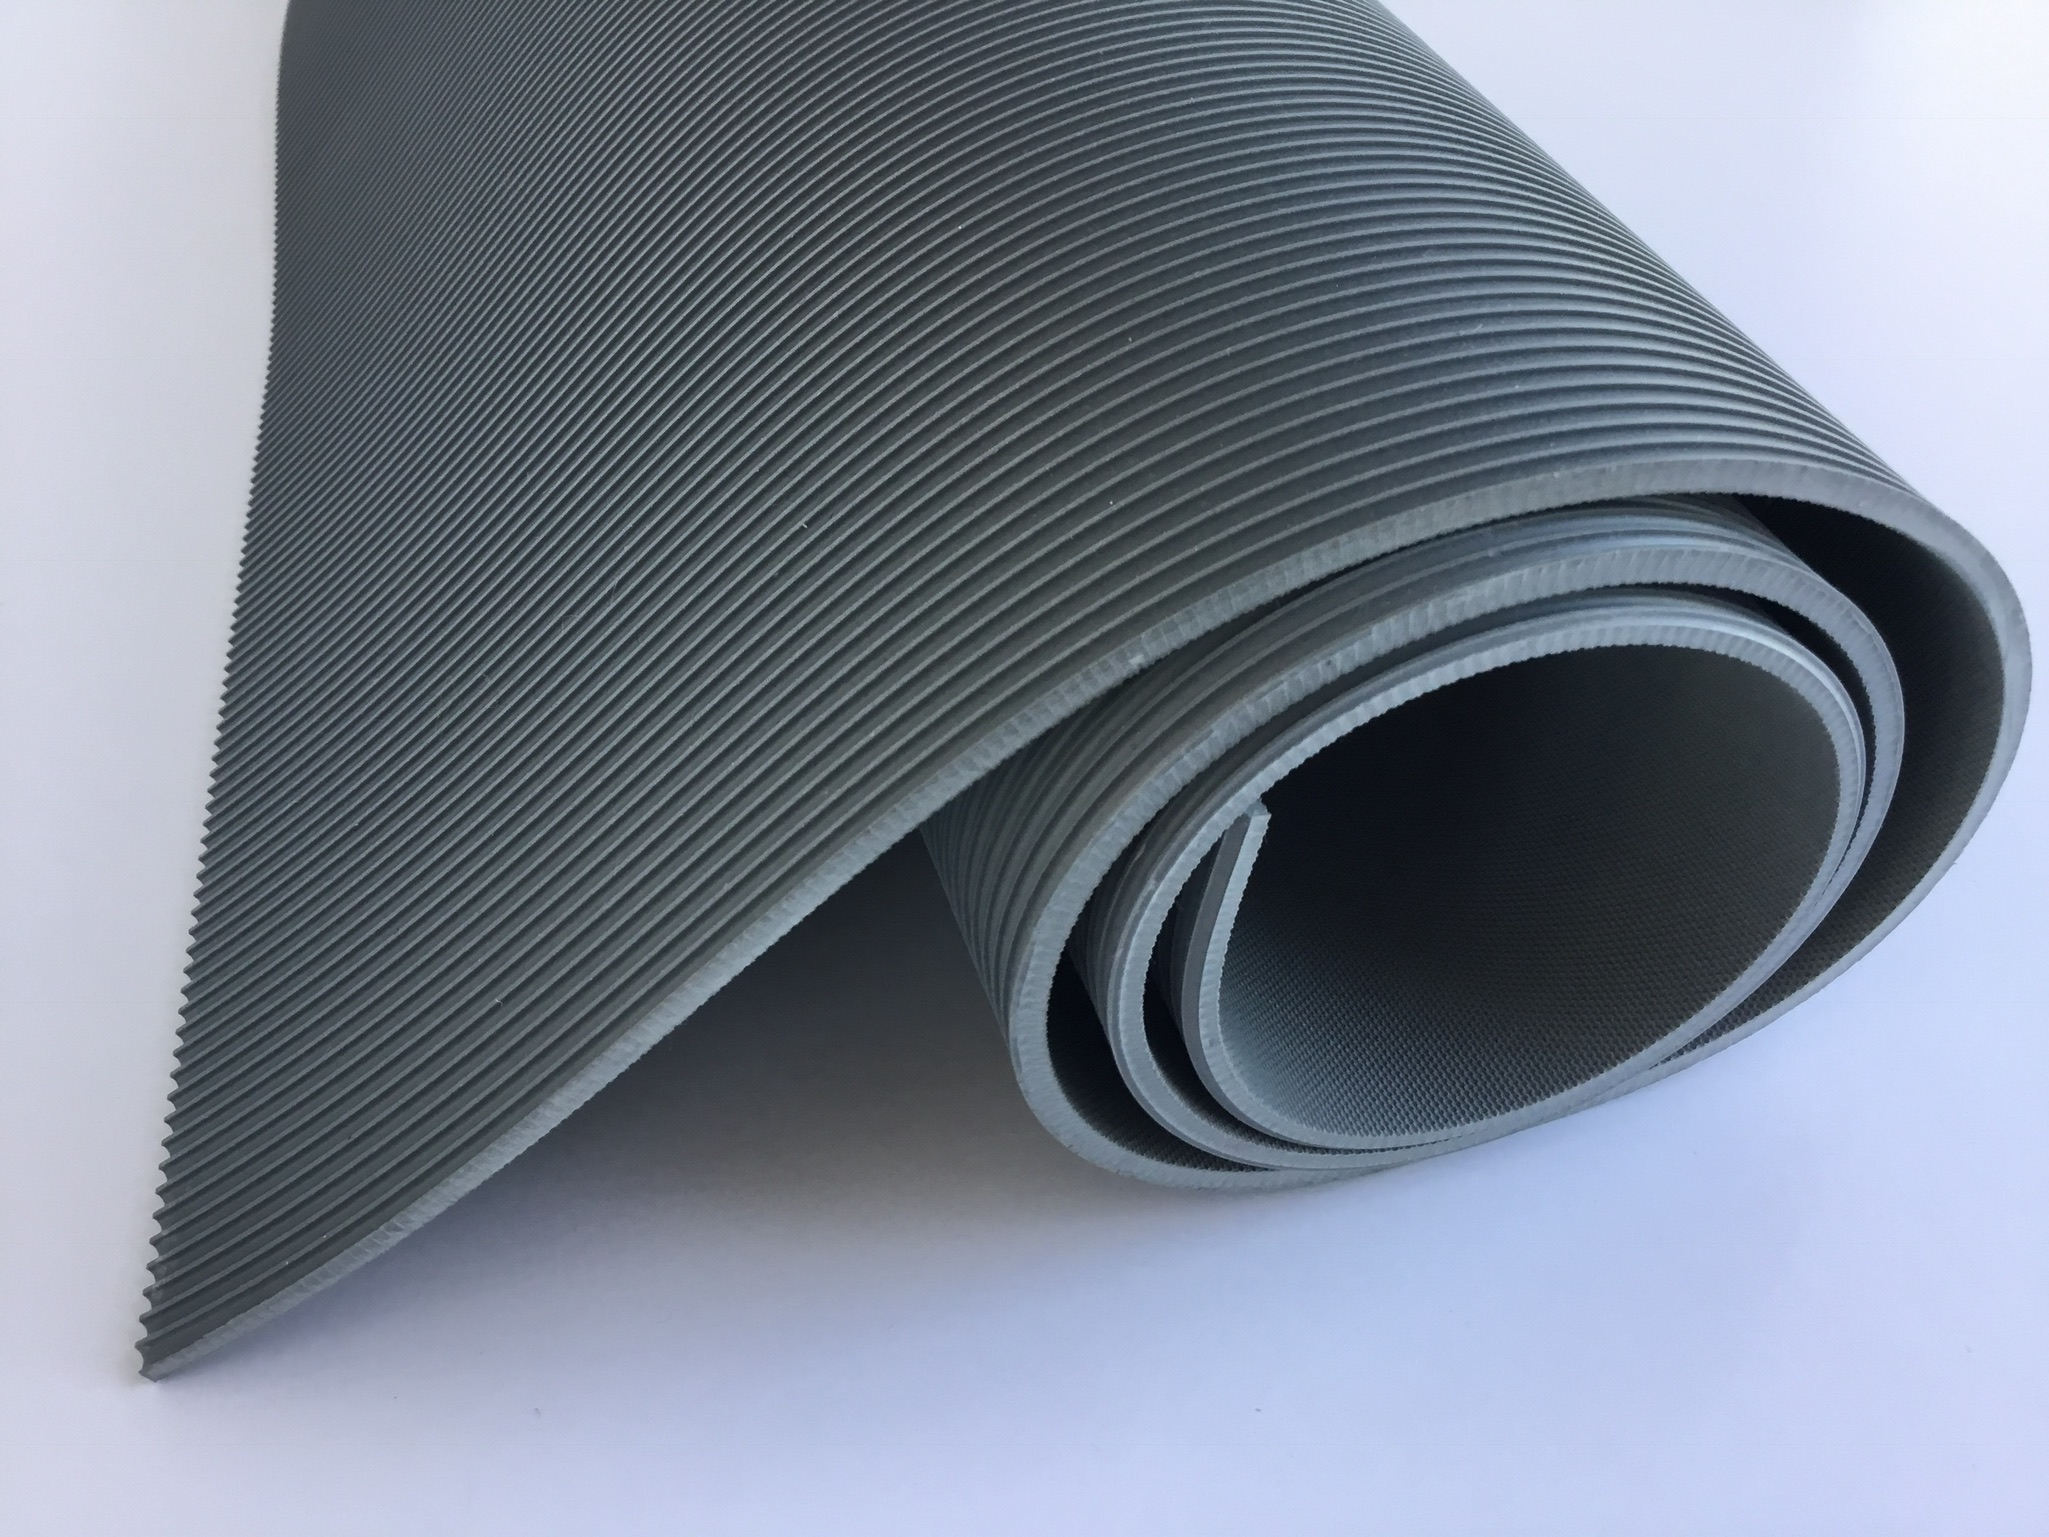
I do almost all of my fulling on our rubber matts, kitchen sink or washing machine.
Shrinking
Anyone who has ever washed a wool sweater or woolen sock too warm in the washing machine knows the principle: The knitted fabric is matted and it no longer fits – it shrank.
The same thing happens with our wool during the felting process. How much the wool will shrink, unfortunately, can not be calculated 100% accurately. It depends on the quality of the wool, the thickness of the wool, and the felting technique. But that’s what makes felting exciting!
In order to be on the safe side, a test piece can be made. Using the same wool quality and laid out in the same thickness as for the actual object you are planning on making. If you measure the test piece before and after felting, you can calculate how much larger the shape has to be laid out inorder to reach the desired size.
So what really happens is you have to be courageous. Just try it out. You will only be richer in experience in the end. Experiment with different wool qualities, with the laying out of the wool and different felting techniques.
It is, however, quite possible that your first pair of shoes that you fancied for yourself is more appropriate for son or your father-in-law.
Do not give up! Try again!
Want to know how to calculate your wool's shrinkage rate??
Click this link, that'll help you plan your next
wet felting project in no time at all!
What have you wet felted before? Share your experiences with others in the comments below!
About the Author Jenn
Hi! I'm Jenn! I'm an ambitious, creative and natural mama of four awesome kids: Amy (born in 2010), Blake (2011), Cody (2013), Lulu (2014) - yeah my husband and I took a year off in 2012 - go ahead, call us lazy :) My husband Gerhard, our four kids and I live in America’s heartland on a small, in-town acreage in Iowa – but that is pretty new. We are still grounding after an international move from Germany. This is not an understatement, an international move is WAY different than a normal move, but that is a whole different story! I am here to share our love, knowledge and experiences of waldorf in the home including holistic toys, crafts and food. My goal is also to share helpful tips on natural parenting and healthy play.